If we have some running website, we know we have to upload the file(from local to remote host) or download the file( from the remote hosting server to local). For this purpose, we have a lot of software, but I would explain only one I use daily and find very easy with a good interface.
I will explain software WinSCP that transfers the file between local and remote hosting system/servers efficiently based on protocol SFTP, FTP, etc.
What is WinSCP :
It is free, open-source FTP & SFTP client software.
What is FTP :
It Is a file transfer protocol used to transmit the file between two computers/systems on the internet over a TCP/IP connection.
What is SFTP:
It is the secure version of FTP, which uses the secure channel to transmit the file between 2 computers/systems.
What would we learn from this?
- Step 1 : Download the WinSCP
- Step 2 : How to install on our computer/system
- Step 3 : How to configure the WinSCP for Remote Hosting server
- Step 4 : Upload the file from our Local to Remote Host
- Step 5 : Download the file from Remote Host to our local computer
Let’s understand this in some steps.
Step 1: Download the WinSCP
We can download the WinSCP client from the below.
If the above button doesn’t work, google Download WinSCP client and download the latest one.
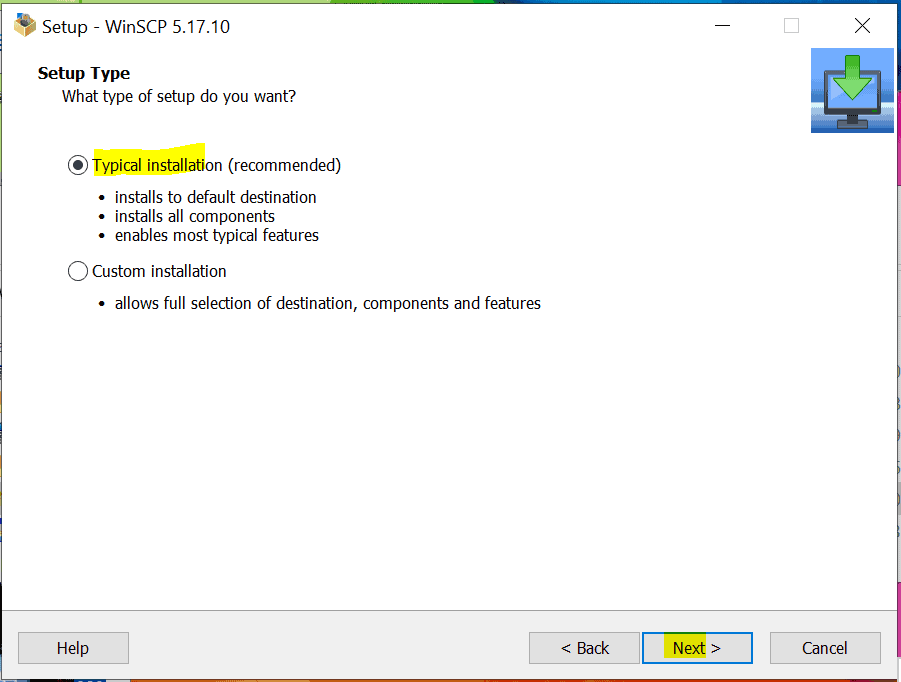
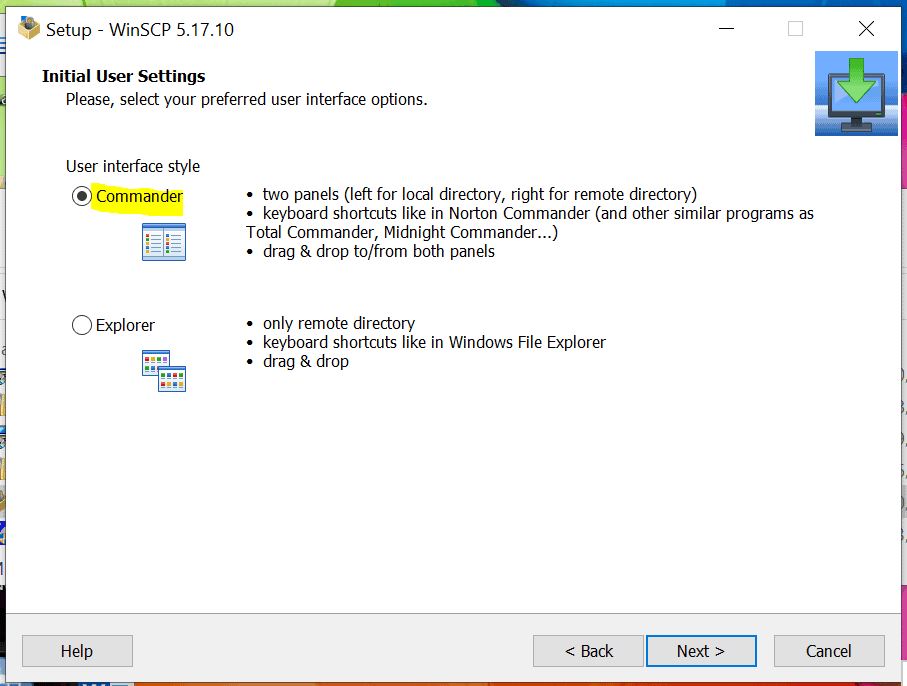
Step 2: Install this on our Computer/System
After downloading, we can see the WinSCP icon in the Download folder.
Double click on this.

Click on Accept as below.

Select Typical Installation.
Select Commander Style Interface.
Click on Install.

Installation Started.

It is done Now.
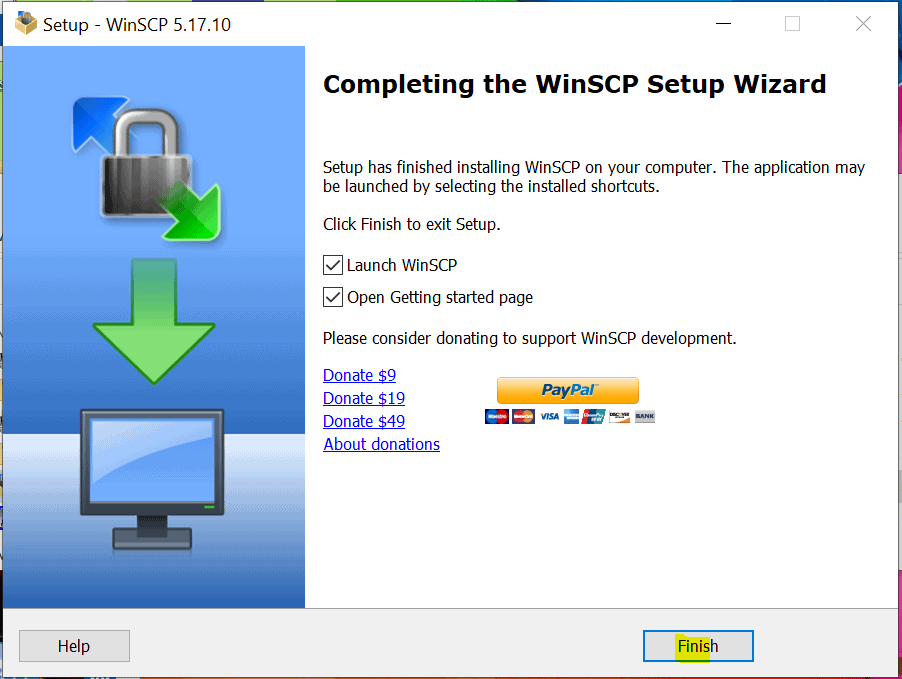
We have installed WinSCP on our computer.
Step 3: Configure the WinSCP for Hosting Server
Now we want to connect our local system to a remote host/server/computer system. We’ll have to provide the details of a remote system.
Open the WinSCP if it is not already open after installation and click on New Site in the left panel.
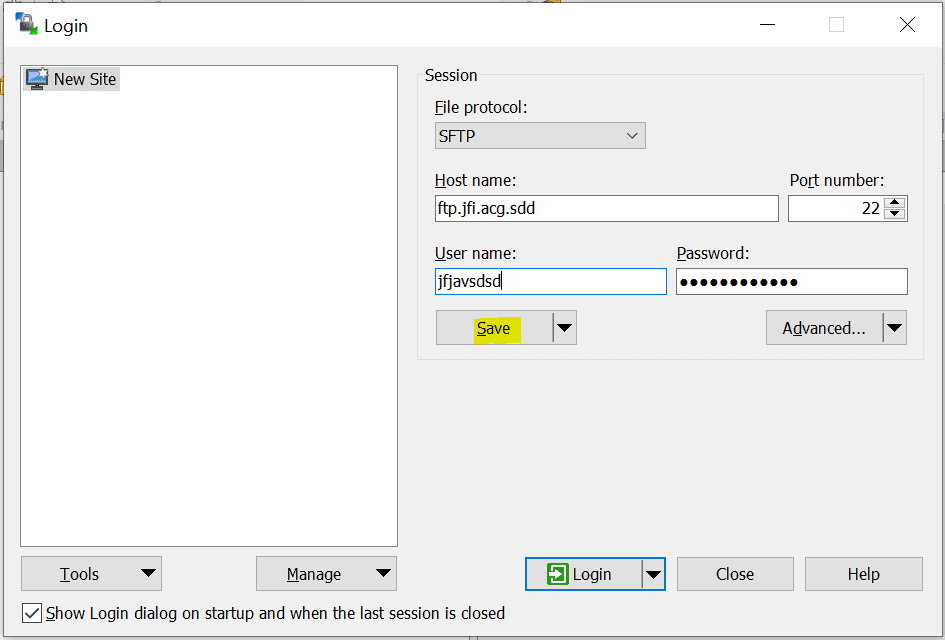
On the right, Fill in the following details as above.
- File Protocol : SFTP
- Host Name: <Your Host Name>
- User Name: <User Name>
- Password: <Password>
Hostname, User Name, and password we get from our hosting account. If you do not have it, please contact your hosting account (like Bluehost, GoDaddy, etc.) and ask about FTP/SFTP credentials.
Click on Save so that next time no need to fill in such information again.
Click on Login.
Left Panel is our Local computer directories; the Right panel is our remote hosting server directories.

Step 4: Upload the file from our local to Remote Host
Select any file in the left panel (from the local computer) that we want to upload on the remote hosting system/server.
Right-click on this and click on upload.

The file would be uploaded to a remote server in a particular directory where we want.
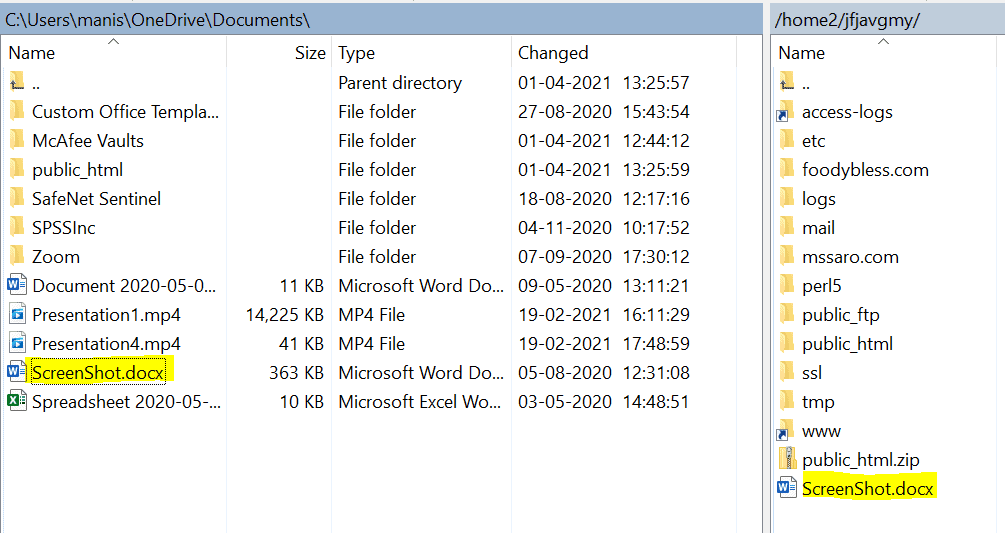
We can see the file in the right panel (Remote host directories). It is so simple.
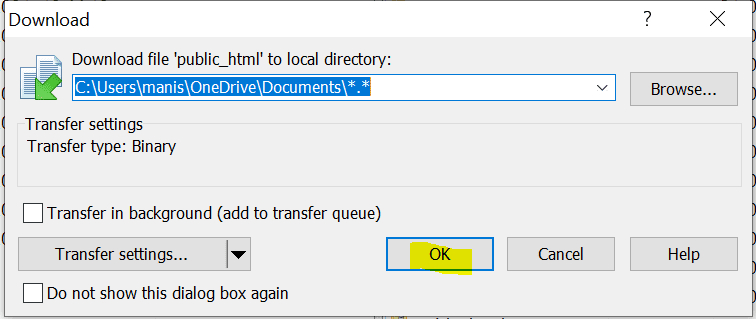
Step 5: Download the file from Remote Host to our local
Select the folder we want to download in the right panel (remote hosting server directory); I selected the public_html folder.
Right-click on this folder and click on Download.

Click Ok
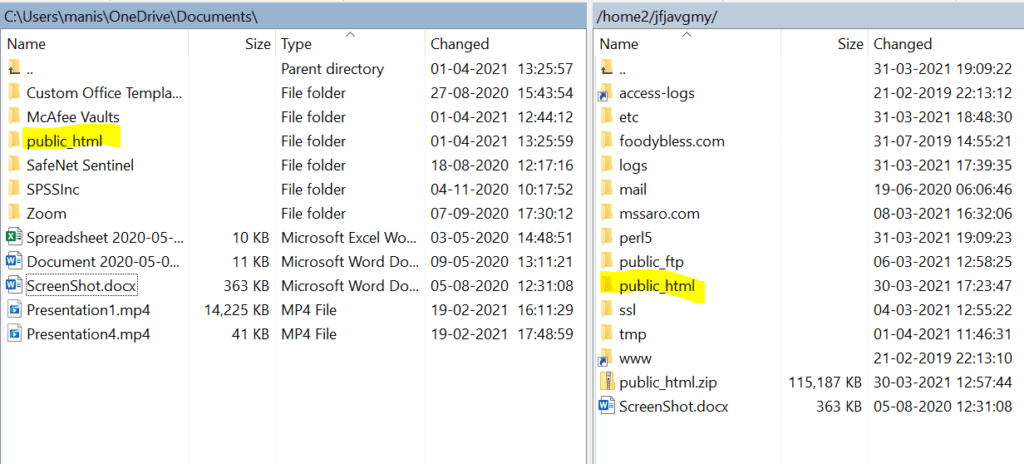
This public_html folder would be downloaded into our local computer (in the left panel).
So we saw that WinSCP makes it very easy to transfer the file securely between 2 computers ( local and hosting server).
We need our FTP credentials which we can get from our hosting account.
So finally, we know at least one software for transferring the file between 2 systems.